Table of Contents
Understanding Propagating Monstera
Plant propagation is the process of creating new plants from existing ones. There are various propagation methods, including stem cuttings, leaf cuttings, air layering, and division. Propagating Monstera plants can be a fun and rewarding way to expand your collection or share the joy of growing with others. Monstera plants are particularly well-suited to propagation, as they are relatively easy to care for, and cuttings tend to root quickly and reliably.
Water Propagation for Monstera Plants
Water propagation is a popular method of propagating Monstera plants. It involves placing a stem or leaf cutting in water until roots develop, and the cutting is ready to be transplanted into soil. Water propagation is a simple and low-maintenance technique that is well-suited to Monstera plants, as they tend to root quickly in water.
Selecting the Right Monstera Plant for Water Propagation
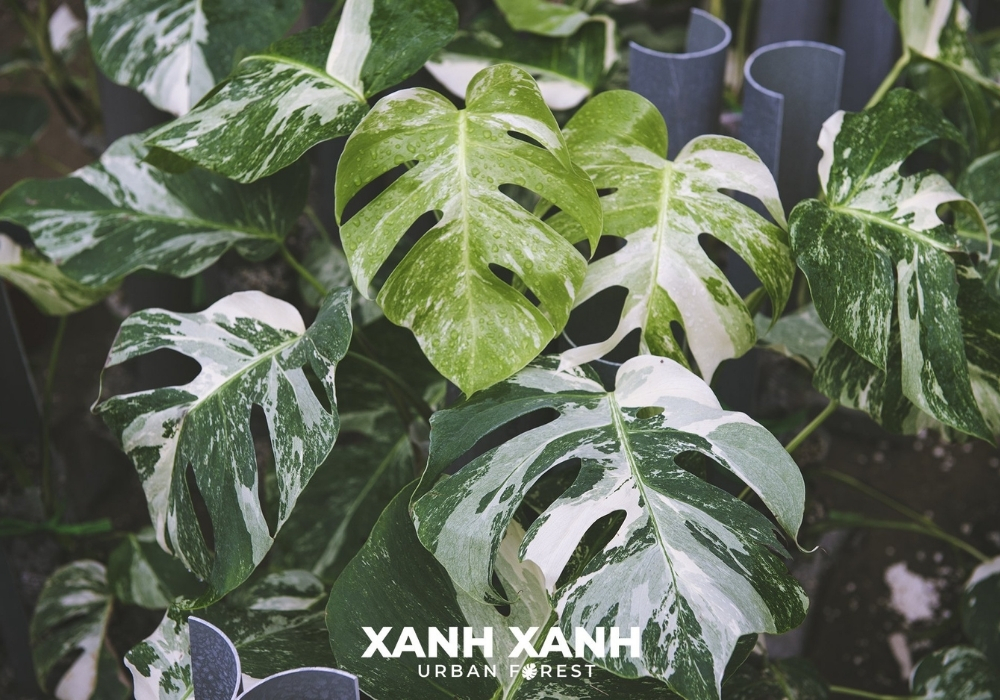
When selecting a Monstera plant for water propagation, it is essential to choose a healthy plant with no signs of disease or pest infestation. Select a plant that has healthy foliage, strong stems, and no wilting or yellowing leaves. Look for a stem or leaf cutting with several nodes, as these are the areas where new roots will emerge.
Gathering the Necessary Materials and Tools for Water Propagation
To propagate Monstera plants in water, you will need the following materials and tools:
- A healthy stem or leaf cutting with several nodes
- A clean and clear container, such as a glass jar or vase
- Distilled or filtered water
- Rooting hormone (optional)
- Scissors or pruning shears
- Paper towels
Preparing the Cutting for Water Propagation
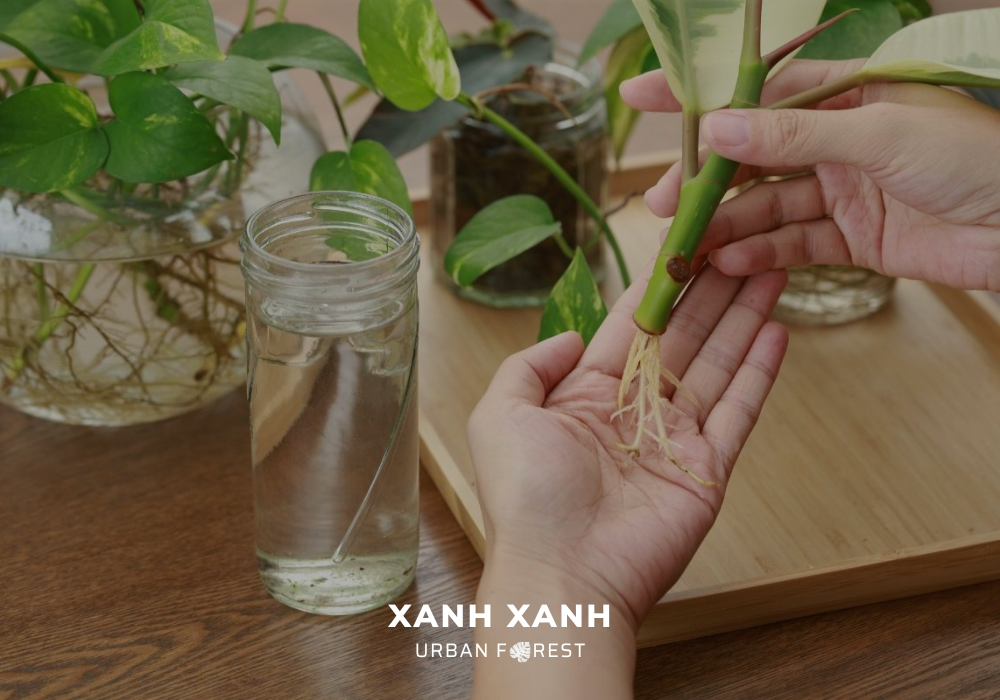
Once you have gathered your materials, it’s time to prepare the cutting for water propagation. First, make a clean cut at the base of the stem or leaf cutting, just below a node. Next, remove any lower leaves, leaving only a few leaves at the top of the cutting. Be careful not to damage the node or any remaining leaves. Finally, dip the cut end of the stem or leaf cutting in rooting hormone (optional) and shake off any excess.
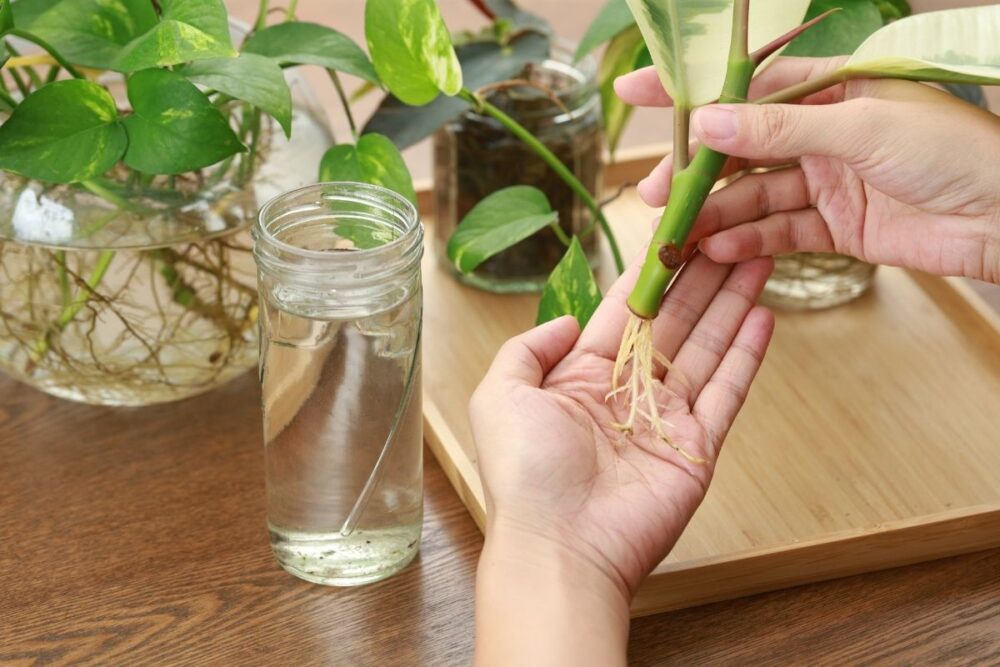
Placing the Cutting in Water and Providing Optimal Conditions
Once you have prepared your cutting, it’s time to place it in water. Fill your container with distilled or filtered water, leaving enough room for the cutting to sit in the water without touching the bottom. Position the cutting in the water, making sure that the node is submerged, but the leaves are not. Place the container in a bright, indirect light and maintain a consistent temperature between 65°F and 75°F.
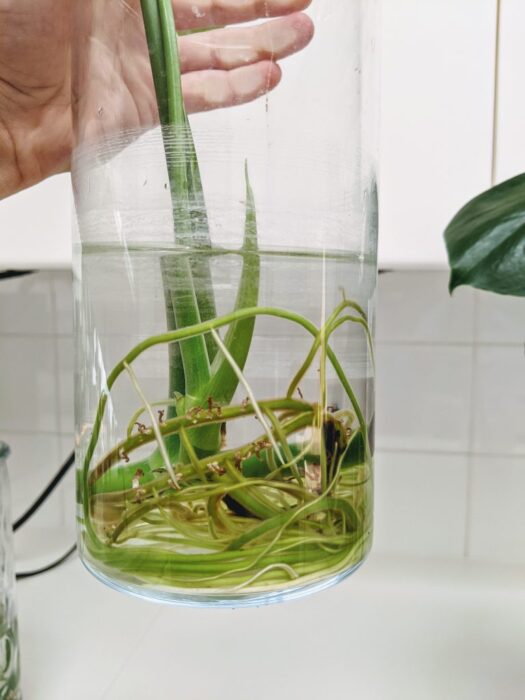
Monitoring and Nurturing the Cutting for Root Development
Now that you have placed your cutting in water, it’s time to monitor and nurture it for root development. Change the water every few days to keep it clean and oxygenated. You may notice small roots emerging from the node within a few weeks. As the roots develop, you can gently swirl the container to encourage them to grow and spread.
Ready to start propagating your own Monstera plants and expand your indoor jungle? At Xanh Xanh Urban Forest, we are passionate about providing plant enthusiasts with the knowledge and tools to grow and propagate their favorite plants successfully.
With our comprehensive guide and step-by-step instructions provided in this article, you have all the expertise you need to embark on your propagation journey.
Where to buy the Monstera plants?
If you want to buy the Monsteras, there are many options available for you to choose from. They can be found at online stores, garden centers, and neighborhood plant shops. It is strongly recommended that you purchase your Monsteras from Xanh Xanh Urban Forest.
Xanh Xanh offers a wide selection of high-quality Monstera plants at affordable prices. All my plants are grown in the greenhouse that belongs to me and are thoroughly examined prior to being sent out for shipping. We provide a 100% satisfaction guarantee to ensure your happiness with your purchase.
What is the reason for waiting? Purchase your Monsteras right now at Xanh Xanh Urban Forest! You won’t be disappointed.
Final thought
Fertilizing your Monstera correctly is essential to its health and growth, but avoiding common mistakes is just as important. By following these guidelines—using the right fertilizer, timing your feedings appropriately, and adjusting based on your plant’s needs—you can help your Monstera thrive and enjoy its stunning foliage for years to come. Happy gardening!
Xanh Xanh Urban Forest hopes that you found this blog article to be useful and educational. Please use the following to contact us with any questions:

Lois Sasson This is really interesting, You’re a very skilled blogger. I’ve joined your feed and look forward to seeking more of your magnificent post. Also, I’ve shared your site in my social networks!